Handout · Humboldt State University
Introduction to Drupal
Step-by-step instructions for building and maintaining a department website in Drupal, with a screenshot for each step.
What it is: A step-by-step handout I wrote for Humboldt State University employees who maintained their department websites in Drupal. It was used in hands-on training sessions and as a reference afterward.
Design choices: One action per step, each paired with a cropped screenshot of exactly what to select, plus notes that head off common mistakes. Several steps nudge authors toward accessible pages: heading styles instead of manual formatting, and header rows and captions on tables.
Logging into your site
Open any web browser, such as Chrome or Firefox.

Navigate to your site by entering the site’s URL in the browser’s address bar.

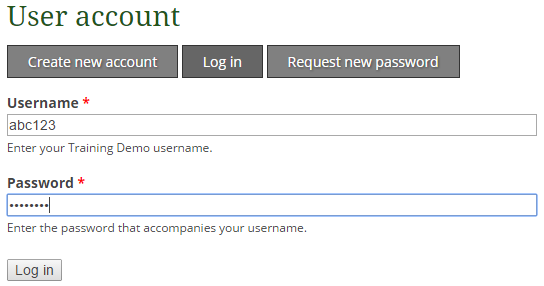
Add “/user” to the end of your site’s URL in the address bar and press the Enter key.

Log in using your standard HSU username and password.
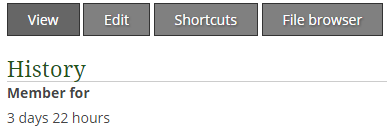
Once logged in, you will be presented with your profile page.
Adding a basic page
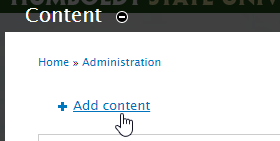
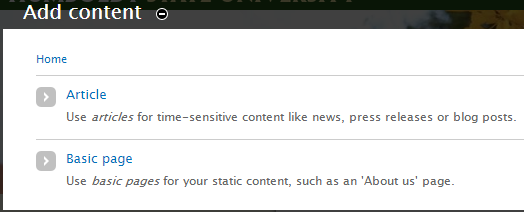
Select Content in the administration menu.

Select Add content.
Select Basic page.
Note: Content options can vary depending on the site configuration.
Add a Title.
Note: This is the page title that a visitor will see.

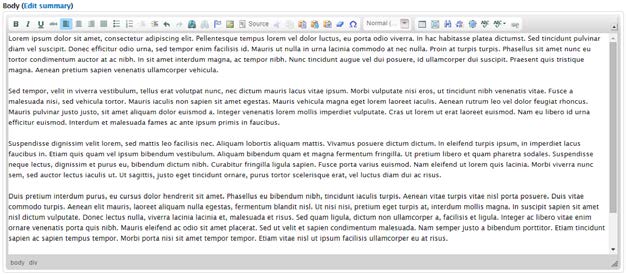
Type or paste content.
Note: This screen does not accurately reflect the appearance of text when viewed live.
Select Save to preserve changes.
Page settings
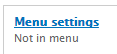
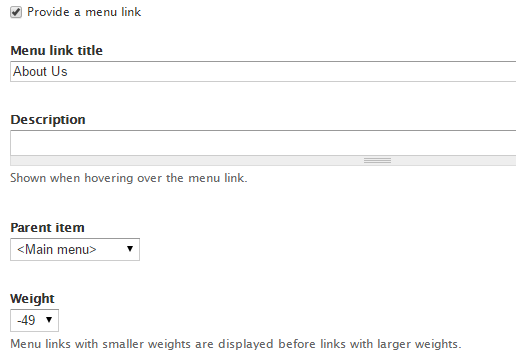
Under Menu settings, select Provide a menu link to have the link appear in a menu. You will be presented with several options:
- Menu link title: text used for the link in the menu.
- Description: can be left blank.
- Parent item: generally controls the indentation of links within your menus. Depending on the settings, links will often be indented under the parent item.
- Weight: controls the order of an item in the menu. This is easier to set elsewhere, so it can be ignored here.
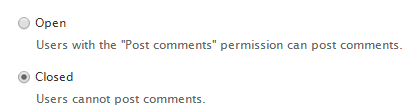
Comments allow site visitors to remark on a page and other visitors to read those remarks. In most cases, this should be set to Closed.

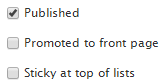
Leave Published unchecked to keep a page in draft form while you or others on your team are working on it. When the page is ready for public consumption, check Published. Generally, you will leave the other options unchecked.

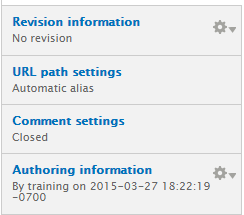
Other settings, such as Revision information, URL path settings and Authoring information can generally be left as-is.
Formatting text
Select the text to be formatted, then use the formatting buttons as you would in a word processing program.

When pasting content from MS Word, paste as plain text, then reformat as necessary.
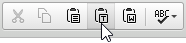
Use the styles in the Paragraph Format drop-down to format text when possible.
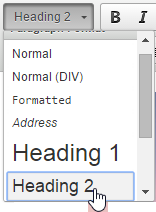
To remove previously applied paragraph formatting, apply the Normal option.
Note: Using paragraph formatting keeps the appearance of text consistent throughout the site and makes pages more accessible.
Use the Remove Format button to remove any undesired formatting.

To view or edit the HTML for the page, select the Source button.

Working with tables
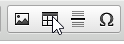
Select the Table button on the toolbar.
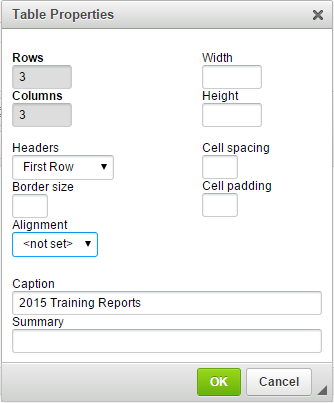
Choose the options for the table and select OK.
- Rows: Select the minimum number of rows you will need. Rows can easily be added later.
- Columns: Select the number of columns you will need.
- Headers: If the table will have column or row headings, select those here. This changes the table’s appearance and increases the accessibility of the table.
- Caption: The text entered here will appear as a title above the table.
- Summary: The table summary is not displayed.
- Width: This creates a fixed width for the table. Leaving this blank will allow the table to expand to the available space.
- Border size, Alignment, Cell spacing, Cell padding: Leave these blank to allow the styles for the site to control these options.
The table will be inserted into the body of the page where you can edit the contents.
Note: The table’s appearance will be different when viewed live.

The table can be modified by right clicking within the table and choosing an option.
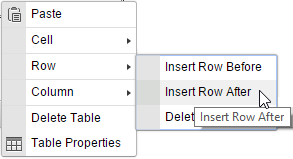
To insert a row at the bottom of the table:
- Select the last row in the table.
- Right click on the table.
- Select Row > Insert Row After.
To modify cell settings, right click on the cell and select Cell Properties.
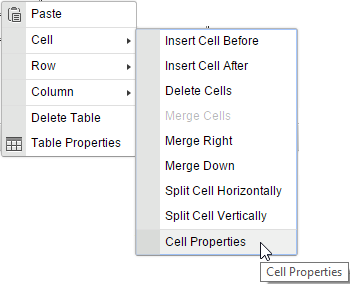
Adjust settings as necessary for the cell.
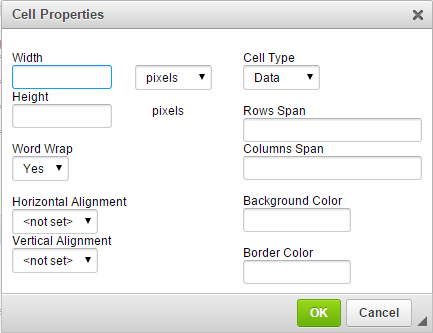
To resize a cell, enter a Width value. Adjusting the cell width generally changes the width for the entire column.

Change the Text format to Full HTML before saving the page. If this setting is not changed, the table will not display properly and some settings will be lost.

Uploading and displaying images
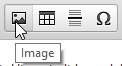
Select the Image button in the toolbar.
Select Browse Server.

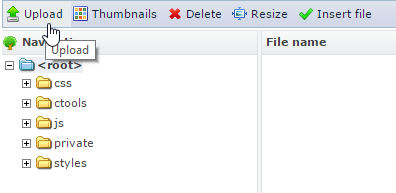
To upload a new image from your computer, select Upload.
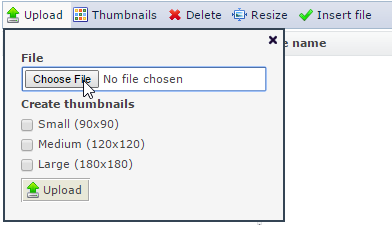
Select Choose File and locate the image file on your computer. The uploaded file will be included in the list of files.
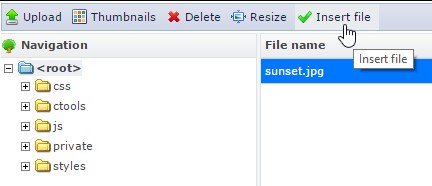
With the file selected, choose Insert file.
The Image Properties dialog box will appear.
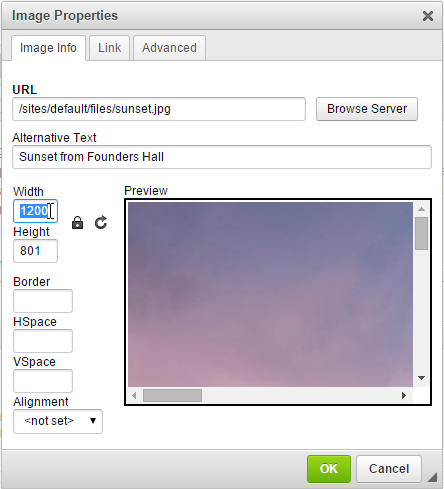
Enter a width, in pixels. The height should change automatically to keep the same proportions.
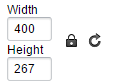
To add more space between the image and the text wrapping around the image (horizontal spacing), add a number in the HSpace box. A number between 5 and 20 is a good starting point.

Adjust the Alignment of the image if desired.

Change Text format to Full HTML.

Select Save.
Uploading and linking to files
Select the text you would like to link.
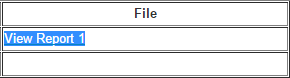
Select the Link button.

Select Browse Server.
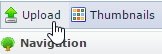
Select Upload.
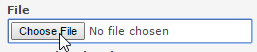
Select Choose File.
Locate the file on your computer that you will be linking to.
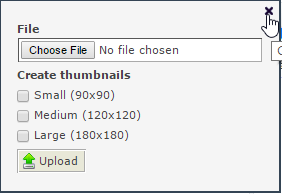
Select Upload. This will upload the file to the web server.

Close the Upload dialog box.
Select the file from the list of files.
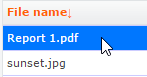
Select Insert file.

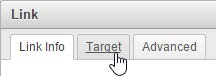
When linking to a file, it may be preferable to have the file open in a new tab or window. To do so, select the Target tab.
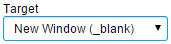
Under Target, select New Window (_blank).
Select OK.
The text should appear as linked.
Select Save.
Adding and ordering menu links
Select Structure from the Administration menu.
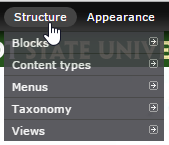
Select Menus.

You will be presented with a list of the available menus.
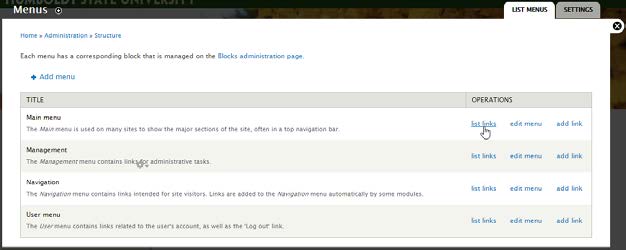
Locate the menu you would like to add the link to and select list links.
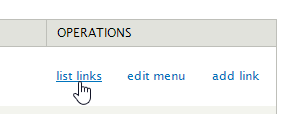
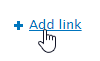
From the list of links, choose Add link.
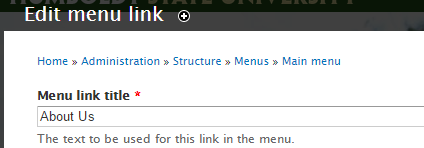
Add a Menu link title. This is the text that the visitor will click on the menu.
Enter the Path or destination for the link. The Path can be a page or file on your site or it can link to another site.
Note: For links to your site, only include the portion of the URL after the main address for your site.

Uncheck Enabled if you would like to hide a menu item without deleting it from the menu.
Note: You could use this if you intend to include the menu item again in the future.

If this link will have other links indented under it, select Show as expanded to always show the indented links.

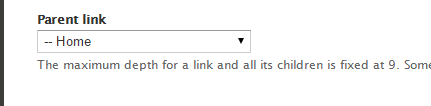
Choose the Parent link using the drop-down.
Note: This is one way to indent a link or move a link to another menu.
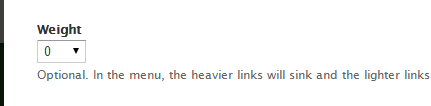
The Weight controls the order of an item in the menu. This is easier to set elsewhere, so it can be ignored here.
Select Save to keep your changes.

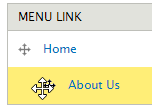
The list of links can be used to re-order the menu items. To do so, select the 4-pointed arrow and drag it to the appropriate position.
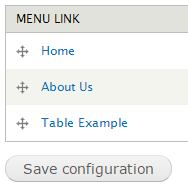
To indent a menu item, drag it to the right using the 4-pointed arrow.
Be sure to select Save configuration when finished.
Menus and blocks
Select Structure.
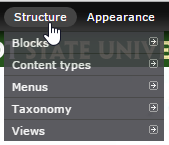
Select Blocks.
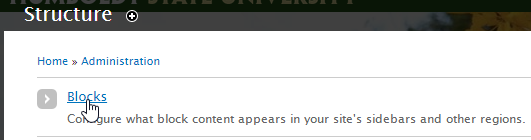
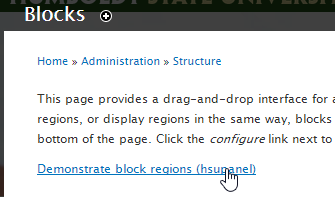
To see where you can put blocks on the page, select Demonstrate block regions.
Areas of the page are displayed where blocks can be placed.
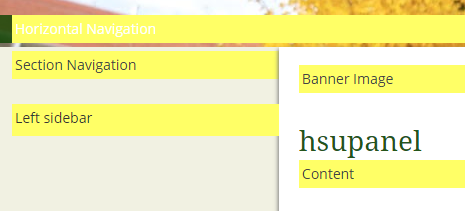
On the blocks page, blocks can be moved to a different region, reordered within a region, and configured.
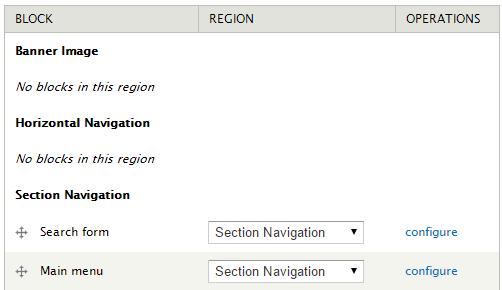
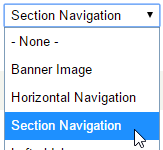
To move a menu block to a new location, locate the menu and select the region in the drop-down. To hide a block, select None.
To edit the settings for the block, select configure.

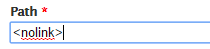
To hide a menu title, enter “<none>” as the Block title.

Select Save block when finished.
Allow others to edit the site
Ask the individual to log into the site as described previously in this guide.
Select People in the administration menu.

Find the user you would like to allow to work on the site.

Select edit for that user.
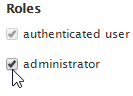
Under Roles, select administrator or another appropriate role.
Select Save.

The individual to whom you have assigned the role should immediately be able to edit the site. If they are still logged into the site, they may need to refresh their web browser.
Turn off maintenance mode
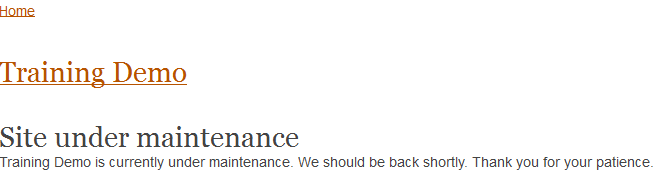
Maintenance mode restricts access to the site and changes its appearance.
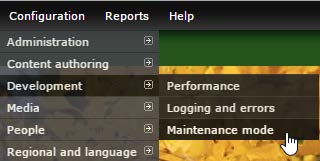
Select Configuration > Development > Maintenance Mode.
Uncheck Put site into maintenance mode.

Other modules
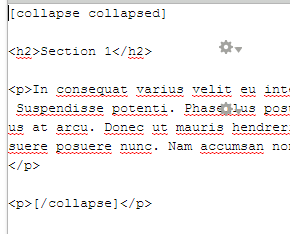
Collapse Text
Special Menu Items
Other modules of interest: